Transforming your Christmas tree into a stunning holiday masterpiece can be as simple as mastering a few key layering techniques. Tree layering isn’t just for the pros; with the right guidance, anyone can create a beautifully layered Christmas tree that looks polished, full, and visually dynamic. Here are 15 professional tree layering techniques to help you turn your Christmas tree into the centerpiece of your holiday decor.

1. Start with the Tree Skirt
Begin with a beautiful tree skirt that complements your overall theme. A rich velvet, a simple rustic burlap, or a snowy white faux fur skirt can set the tone for the rest of the tree’s design.
2. Choose a Color Scheme
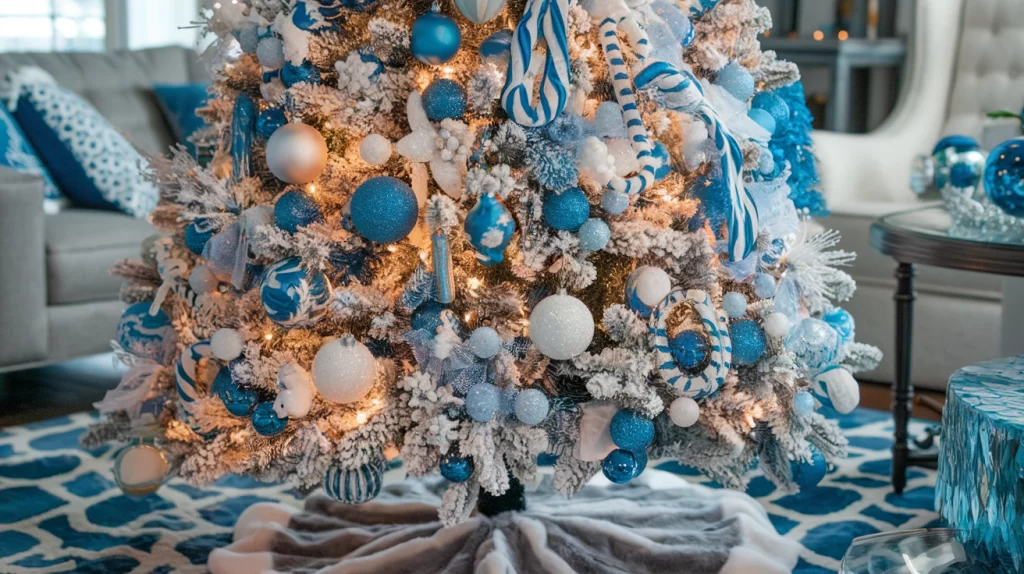
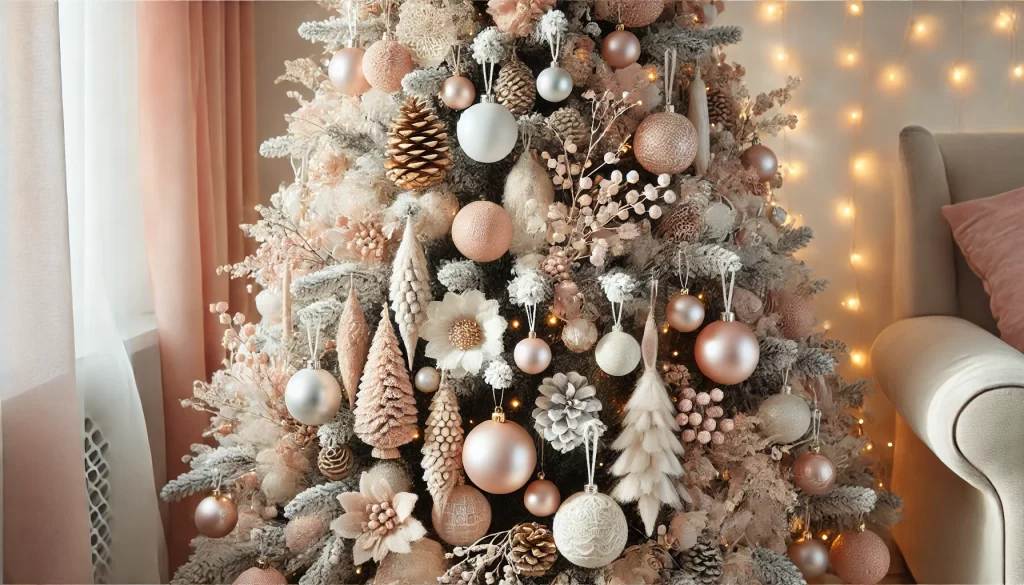
Establishing a color scheme will guide the entire layering process. Classic red and gold, modern white and silver, or even trendy blush pink can create different moods. Sticking to two or three main colors keeps the tree cohesive and professional.

3. Pre-Layer with Lights
Proper lighting is the foundation of a well-layered tree. Start by wrapping lights around each branch from the inside out, rather than only draping them over the surface. For a fuller look, combine different types of lights like warm white, twinkling, and mini LED lights.
4. Layer Garlands and Ribbons
Ribbons and garlands add volume and texture to your tree. Choose a mix of widths and textures, such as satin, sheer, and velvet ribbons, to add interest. Drape garlands in gentle swoops, tucking them into branches to create a natural look.
5. Use Filler Ornaments
Start with filler ornaments in a neutral or metallic color to add depth. These should be medium-sized and placed inside the tree’s branches to give a sense of dimension.
6. Add Statement Ornaments
Statement ornaments are the eye-catching pieces that will pop against your filler ornaments. These should be unique in shape, size, or color and placed on prominent branches toward the front of the tree for maximum impact.
7. Cluster Ornaments Together
Rather than spreading ornaments evenly, try clustering two or three ornaments together. This technique creates focal points and helps your tree appear fuller and more interesting.
8. Mix Ornament Textures
Mixing matte, glossy, and textured ornaments enhances depth and richness. Textured ornaments like frosted, glittered, or beaded pieces catch the light in different ways, adding layers of interest to the tree.

9. Incorporate Natural Elements
Natural items like pinecones, small branches, or dried flowers add an organic touch. You can also tuck in some faux greenery like eucalyptus sprigs or berries for color and contrast.
10. Layer with Decorative Picks
Decorative picks come in various designs, including metallic sprays, frosted twigs, and floral elements. Place picks in groups of three throughout the tree to give it a professional, multidimensional look.
11. Balance with Oversized Ornaments
Larger ornaments can be used sparingly to anchor your tree’s design. Add them near the bottom or in central spots for a dramatic, grounded look.
12. Add Unexpected Accents
Small trinkets or charms, such as mini bells, snowflakes, or wrapped presents, create delightful surprises. Space them out evenly for subtle charm.
13. Top the Tree Creatively
Skip the traditional star for something a little more unique. A cluster of ribbon, picks, or a large bow can give your tree topper a more professional, layered look.
14. Finish with a Dusting of Faux Snow
A light spray of faux snow across the tips of your branches adds an enchanted, wintery feel. Be careful to apply evenly for a soft, cohesive effect.
15. Step Back and Adjust
Finally, step back and make any necessary tweaks. Fluff branches, adjust lights, and shift ornaments as needed to ensure every layer works together seamlessly.
With these 15 professional tree layering techniques, your Christmas tree will be ready to impress. Happy decorating!

