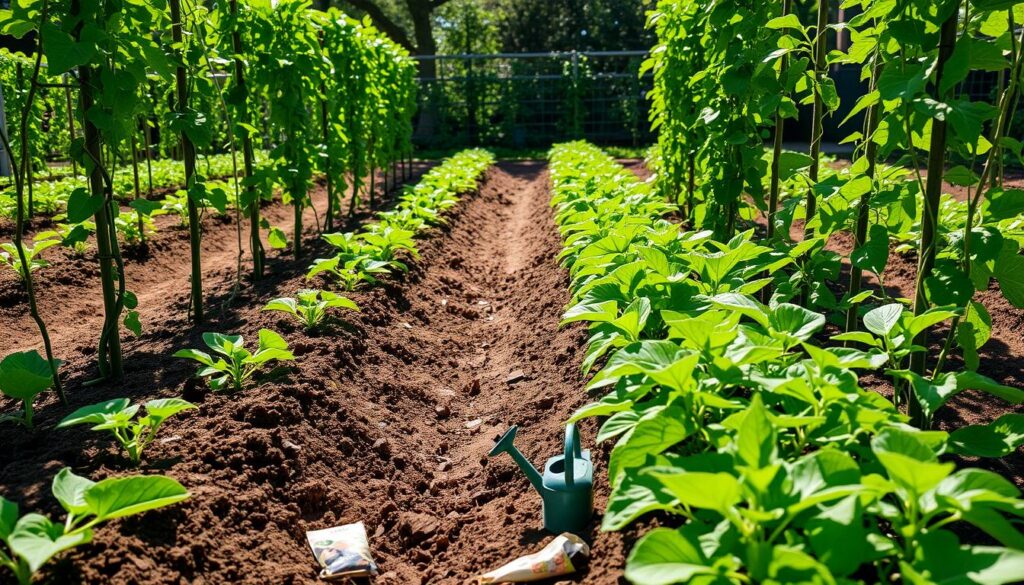
Welcome to our guide on growing peas. Here, you’ll find tips to help you succeed. Peas are fun to grow and give you a tasty, healthy crop. We’ve created this guide to help you grow a great pea patch, like those on container gardening websites.
Introduction to Pea Gardening
Whether you’re new to gardening or experienced, growing peas is rewarding. With the right steps and patience, you’ll enjoy a big harvest of tasty peas. Our guide will show you how to plant and harvest peas, giving you the best tips and advice.
Key Takeaways
- Learn the basics of pea growth and development
- Discover the best pea planting tips for a thriving crop
- Understand how to care for your pea plants
- Find out how to harvest your peas at the right time
- Get tips on how to preserve your pea crop
- Learn how to troubleshoot common pea gardening problems
Understanding Different Pea Varieties
Choosing the right pea variety is key when growing peas in your garden. With many options, picking the right one can be tough. Each variety has its own traits, growth habits, and uses in cooking.
Popular pea types include snow peas, sugar snap peas, and shell peas. Snow peas have flat pods, sugar snap peas have plump pods, and shell peas offer a traditional flavor. Knowing these differences helps you pick the best variety for your garden and cooking needs.
Consider whether to grow dwarf or climbing peas. Dwarf peas are perfect for small spaces, while climbing peas need more support but yield more. Here are some key factors to think about when picking a pea variety:
- Growth habit: dwarf or climbing
- Pod type: snow, sugar snap, or shell
- Days to maturity: how long it takes for the peas to be ready to harvest
- Disease resistance: some varieties are more resistant to certain diseases
By considering these factors and choosing the right pea variety, you’ll grow a thriving pea patch. Whether you’re new to gardening or experienced, knowing about different pea varieties helps you make better choices. This way, you’ll enjoy a rich harvest.
Best Time to Plant Peas in Your Garden
Timing is key when planting peas. They do best in cooler weather. Plant them when the soil is ready in spring, usually late March or early April.
Before planting, prepare the soil well. Pea planting tips stress the need for good soil. It should drain well and have a pH of 6.0 to 7.0. Adding compost can make the soil better for peas. Key steps include:
- Testing the soil pH to determine if any adjustments are needed
- Adding organic matter to improve soil structure and fertility
- Ensuring the soil is well-draining to prevent waterlogged soil
By following these pea planting tips and preparing the best soil for peas, you’ll have a great pea patch. Always check the planting times for your area for the best results.
Ideal Soil Conditions for Pea Growth
Peas grow best in well-draining, nutrient-rich soil. The soil’s pH should be slightly acidic to neutral, between 6.0 and 7.0. This pH range is key for healthy pea growth.
To get the soil right, consider these points:
- Soil pH: A slightly acidic to neutral soil pH is ideal for pea growth.
- Drainage: Well-draining soil is necessary to prevent waterlogged soil, which can lead to root rot and other problems.
- Nutrient requirements: Peas require adequate nutrients, including nitrogen, phosphorus, and potassium, to grow and thrive.
Regular soil testing can show if your soil needs pH or nutrient adjustments. By understanding these needs and preparing the soil, you can care for your pea plants. This will lead to a great harvest.
- Adding organic matter, such as compost or well-rotted manure, to improve soil structure and fertility.
- Using a balanced fertilizer to provide essential nutrients for pea growth.
- Ensuring good drainage by adding perlite or sand to the soil, if necessary.
| Soil Factor | Ideal Condition |
|---|---|
| pH Level | 6.0-7.0 |
| Drainage | Well-draining |
| Nutrient Requirements | Nitrogen, Phosphorus, Potassium |
How to Grow Peas Successfully
Growing peas in a garden can be very rewarding. But, it needs some knowledge and planning. First, pick the right pea variety for your climate and space. Some peas fit small gardens, while others need more room.
Pea trellising techniques are also key to a successful pea crop. When growing peas, the right conditions are essential. This includes planting at the right time and providing support as plants grow.
Ensuring the soil has the right nutrients is also vital. Proper soil preparation is important. Adding compost can improve soil fertility. For more tips, visit gardening websites.
To support your pea plants, use stakes, cages, or trellises. The choice depends on the pea variety and your garden’s space. Here are some tips to remember:
- Plant peas in a location with full sun and well-drained soil
- Provide support for the plants as they grow
- Keep the soil consistently moist, but not waterlogged
By following these tips and using the right pea trellising techniques, you can enjoy a bountiful harvest of delicious peas. 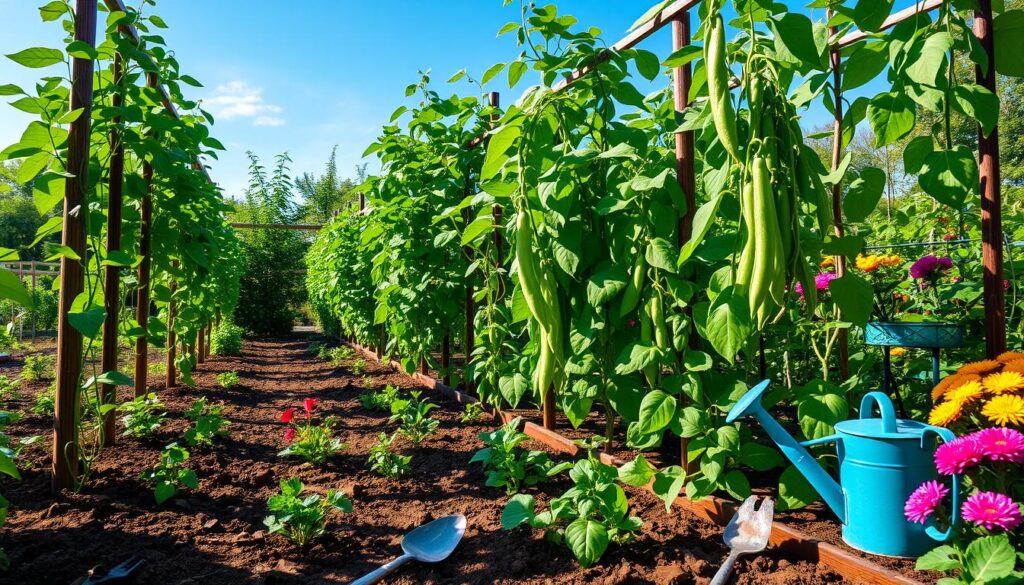
Essential Tools and Materials for Pea Growing
When growing peas, having the right tools and materials is key. To get a good harvest, you need to prepare your garden well. This means having a basic tool set, support materials, and soil amendments.
Using the right pea trellising techniques is important. It helps your plants grow upright and strong. This way, they can produce more and avoid damage from wind and pests.
Garden Tools Checklist
- Rake
- Hoe
- Watering can
Supporting Materials
You’ll need stakes, twine, or a trellis for support. These keep your pea plants upright and secure. This lets them grow and thrive better.
Soil Amendments
Soil amendments like compost or fertilizer are also important. They make the soil more fertile, helping your plants grow well. By adding these to your soil, you create a rich environment for your peas.
| Tool/Material | Purpose |
|---|---|
| Rake | Soil preparation and weed removal |
| Hoe | Weed control and soil cultivation |
| Watering can | Providing adequate moisture for pea plants |
Proper Spacing and Planting Depth
When growing peas in a garden, spacing and depth are key for healthy plants. Plant peas 2 to 3 inches apart, depending on the type. The depth should be 1 to 2 inches deep, based on the soil.
Consider these factors for the right spacing and depth:
- Soil type: Different soils affect drainage and aeration, impacting pea growth.
- Variety: Some peas need more space than others.
- Climate: Weather and climate can influence pea growth.
A table summarizing key factors for planting peas is as follows:
| Factor | Description |
|---|---|
| Soil type | Affects drainage and aeration |
| Variety | Affects compactness and spacing requirements |
| Climate | Affects growth and development |
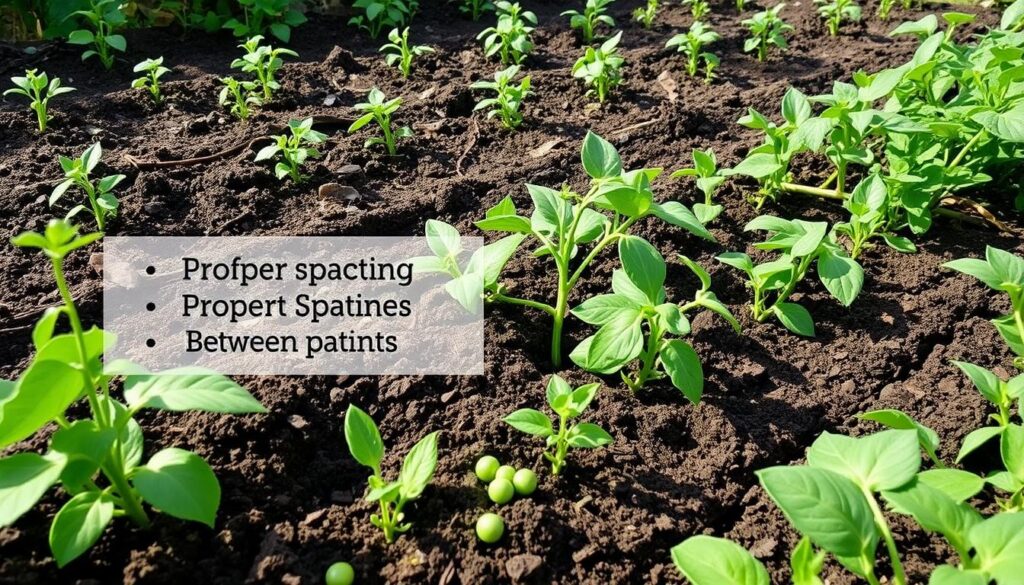
Follow these pea planting tips and consider these factors for a healthy pea patch in your garden.
Supporting Your Pea Plants
As pea plants grow, they need support to keep climbing. It’s key to caring for pea plants and keeping them healthy. You can use trellises, stakes, or natural supports to help.
There are many pea trellising techniques to try. Here are a few:
- Trellis systems: These can be wood, metal, or plastic. They give plants a place to climb.
- Stakes: You can use one stake per plant or set up a trellis with several.
- Natural support systems: Fences, walls, or other plants can also support pea plants.
Choosing the right support depends on the pea type, space, and your preference. The right support helps your plants grow strong and fruitful.
It’s important to know what your pea plants need. Some need more support than others. Others might get sick if they don’t have enough room. By learning about your plants, you can give them the best care and support.
Watering Requirements Throughout the Growing Season
When caring for pea plants, knowing their watering needs is key. These needs change as the season goes on. In the germination phase, the soil must stay moist to help seedlings grow well.
As the plants grow, they need about 1 to 2 inches of water each week. This can come from rain or irrigation. It’s important for growing peas in a garden because too little or too much water can harm the plants.
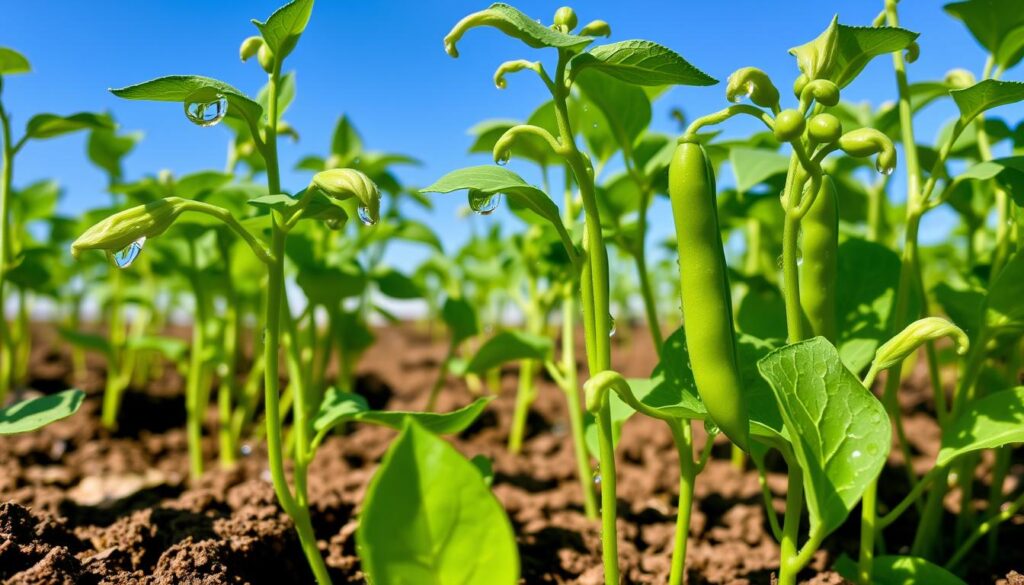
- Check the soil regularly by inserting your finger into the soil up to the knuckle.
- Water deeply but infrequently to encourage deep root growth.
- Avoid getting water on the leaves to prevent fungal diseases.
By following these tips and adjusting your watering based on your pea plants’ needs, you’ll have a successful pea patch.
Common Pea Plant Diseases and Prevention
Pea plants face many diseases and pests, which can harm their growth and yield. It’s important to know about common pea plant diseases and how to prevent them. This helps in caring for pea plants and getting a healthy harvest.
Keeping an eye on your plants and maintaining them is key to stopping disease spread. This includes rotating crops, choosing disease-resistant varieties, and using organic or chemical controls when needed. By acting early, gardeners can lower disease risks and keep their pea patches thriving.
Fungal Issues
Fungal diseases like powdery mildew and root rot can severely harm pea plants. To prevent these, make sure plants have good air flow, don’t overwater, and use fungicides if needed.
Bacterial Problems
Bacterial diseases, like bacterial blight, can also hit pea plants. To stop these, grow resistant varieties, avoid too much moisture, and use bactericides when needed.
Pest Management
Pests like aphids and slugs can also harm pea plants. Manage these pests with organic or chemical controls, like insecticidal soap or copper tape. Also, introduce beneficial insects, like ladybugs or lacewings.
By knowing about common pea plant diseases and taking steps to prevent them, gardeners can enjoy a healthy pea harvest. Regular care and proactive measures help stop disease spread and keep pea patches thriving.
| Disease | Prevention | Treatment |
|---|---|---|
| Powdery Mildew | Ensure good air circulation, avoid overwatering | Use fungicides, remove infected plants |
| Bacterial Blight | Use resistant varieties, avoid excessive moisture | Apply bactericides, remove infected plants |
| Aphids | Use insecticidal soap, introduce beneficial insects | Apply insecticides, remove infested plants |
Companion Planting with Peas
When growing peas, think about companion planting. This means growing different plants together to help each other grow better. Peas do well with certain plants that keep pests away, attract good bugs, or provide shade. Knowing which plants are good friends for peas can make your garden more diverse and strong.
Some great friends for peas are basil, mint, and chives. These plants keep pests like aphids and mites away from peas. Other good friends include radishes and carrots. They help loosen the soil and make sure water drains well. Here are some pea planting tips:
- Basil: repels pests and improves flavor
- Mint: repels pests and attracts beneficial insects
- Chives: repels aphids and other pests
- Radishes: breaks up compacted soil and improves drainage
- Carrots: improves soil health and structure
Adding these plants to your garden can make it a thriving place for peas to grow. Make sure to pick friends that fit your climate and soil. Don’t be afraid to try different combinations to see what works best for you.
Companion planting is a simple and effective way to improve the health and productivity of your pea plants. By choosing the right companions, you can reduce the need for pesticides and fertilizers, and create a more sustainable and resilient garden ecosystem.
Fertilizing Your Pea Plants
Fertilizing pea plants is key to their growth and a good harvest. The soil should be rich in nutrients. You can choose from organic or chemical fertilizers, each with its own benefits and drawbacks.
Organic options like compost or manure are great for a natural approach. They release nutrients slowly, feeding your plants steadily. Chemical fertilizers, on the other hand, give a quick nutrient boost but can harm the environment if not used right.
Organic Options
- Compost: rich in nutrients, improves soil structure
- Manure: high in nitrogen, phosphorus, and potassium
Chemical Fertilizers
Chemical fertilizers work well but need careful use. Always follow the instructions and avoid overfertilizing. This can harm your plants and the environment.
Timing and Application
When and how you apply fertilizers matter a lot. A balanced fertilization plan helps your plants grow well and gives you a big pea harvest. By picking the right fertilizer and applying it correctly, you’ll enjoy a crop of tasty and healthy peas.
| Fertilizer Type | Advantages | Disadvantages |
|---|---|---|
| Organic | Slow release of nutrients, environmentally friendly | May not provide immediate results |
| Chemical | Quick boost of nutrients, high availability | Can harm the environment, overfertilization risks |
Signs Your Peas Are Ready to Harvest
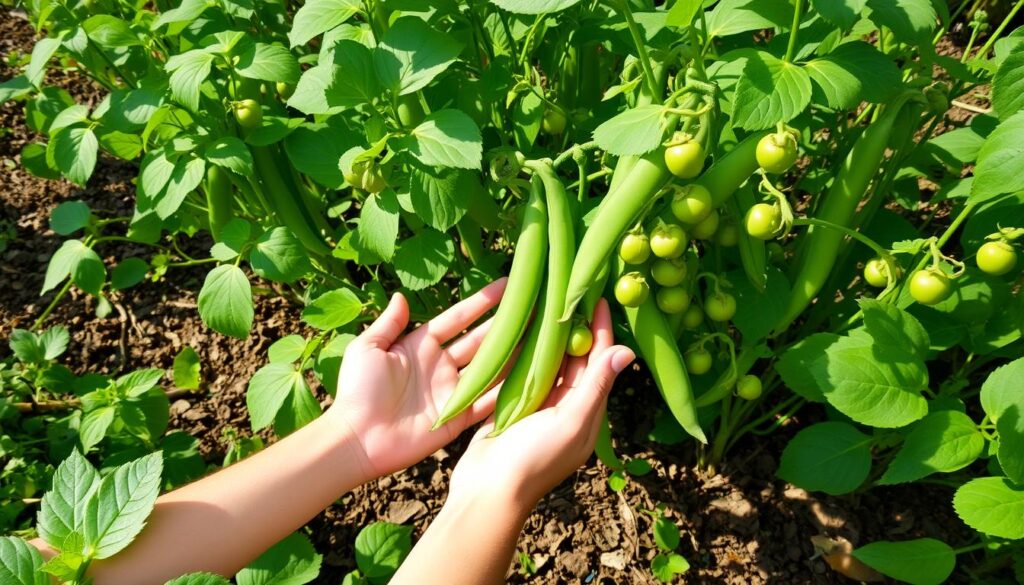
Harvesting peas at the right time is key to enjoying them fully. Peas are ready about 50 to 60 days after planting. Snow peas and sugar snap peas are best when their pods are plump and tender.
Knowing when your peas are ready is important. Here are some tips to help you harvest them perfectly:
- Check the pods regularly for size and tenderness.
- For shell peas, wait until the pods are fully formed and the peas inside are large and tender.
- Use scissors to cut the pods from the plant to avoid damaging the stem.
By following these tips, you’ll enjoy your homegrown peas at their best. You’ll also learn how to harvest and preserve peas for future meals.
Proper Harvesting Techniques
Timing is key when harvesting peas. Picking them at the right moment makes them sweet and tender. You’ll need scissors or a sharp knife to cut the stems of the pea plants. It’s important not to harm the plants or the peas.
To know when to harvest, check the peas often. They should be plump and bright green. For preserving peas, it’s important to store them right after picking. You can refrigerate, freeze, or can them, depending on your choice and the pea type.
- Use scissors or a sharp knife to cut the stems
- Harvest peas in the morning, when the dew is on the plants
- Store peas in a cool, dry place to keep them fresh
By following these tips, you can enjoy your homegrown peas. Whether you’re harvesting peas for eating now or preserving peas for later, using the right techniques is key. This ensures they taste great and are full of nutrients.
| Method | Description |
|---|---|
| Refrigeration | Store peas in the refrigerator to keep them fresh for up to a week |
| Freezing | Blanch peas before freezing to preserve their color and texture |
| Canning | Follow safe canning procedures to preserve peas for long-term storage |
Saving Pea Seeds for Next Season
Choosing the right pea variety can be a challenge. Saving seeds from your harvest is a smart way to save money and ensure you have seeds for next year. To save seeds, let some pea pods dry completely on the plant. Once they’re dry and brittle, you can take out the seeds and store them in a cool, dry spot.
Learning how to save seeds is key to keeping your favorite pea varieties. Preserving peas through seed saving is a vital part of gardening. It lets you control the quality and traits of your pea crop. Saving seeds also lets you try out different varieties and find new favorites.
Here are some tips for saving pea seeds:
- Allow pea pods to mature fully on the plant
- Remove seeds from dry and brittle pods
- Store seeds in a cool, dry place
By following these easy steps, you can enjoy your favorite pea varieties for years. You can also explore new options through pea variety selection.
Saving seeds is a great way to connect with the natural cycle of gardening and appreciate the beauty of preserving peas.
With a bit of practice and patience, you’ll become a pro at saving pea seeds. You’ll enjoy a bountiful harvest every season.
| Pea Variety | Seed Saving Tips |
|---|---|
| Snow Peas | Allow pods to dry completely before removing seeds |
| Sugar Snap Peas | Store seeds in an airtight container to maintain freshness |
Conclusion: Enjoying Your Homegrown Pea Harvest
Growing your own peas is incredibly rewarding. You’ve learned about different pea varieties, when to plant, and how to grow them best. Now, you’re ready for a great pea harvest.
With your knowledge, you can take care of your pea plants. You’ll know how to keep them safe from pests and diseases. There’s nothing better than eating fresh, tasty peas from your garden.
Don’t forget to save some pea seeds for next year. This way, you can keep enjoying homegrown peas for years to come. Happy gardening and enjoy your meal!
FAQ
What are the different types of peas and how do they differ?
There are mainly three types of peas: snow peas, sugar snap peas, and shell peas. Snow peas have flat, edible pods. Sugar snap peas have plump, edible pods. Shell peas have pods that are shelled to reveal the peas inside. Each type has its own unique features and uses in cooking.
When is the best time to plant peas in the garden?
Peas do best in cooler weather. You can plant them as soon as the soil is ready in spring. The exact time will depend on your area’s climate. But generally, plant peas 4-6 weeks before the last frost.
What type of soil do peas need to thrive?
Peas love well-draining, rich soil with a pH of 6.0 to 7.0. Adding compost can make the soil better for peas. This helps with growth and health.
How do I provide support for my pea plants?
Pea plants climb and need support. You can use trellises, stakes, or other plants to help them grow. Choose what works best for your garden and pea type.
How do I know when my peas are ready to harvest?
For snow peas and sugar snap peas, pick them when they’re plump and tender. For shell peas, wait until the pods are full and the peas inside are big and tender. This is usually 50-60 days after planting.
How can I save pea seeds for next season?
To save pea seeds, let some pods dry on the plant. When they’re dry and brittle, take out the seeds. Store them in a cool, dry spot. This way, you can grow your favorite peas again next year.

